Sunblade; December 11 2024
My poor kid’s been sick on and off for like, two weeks now. She’s spent more time resting at home than she has in class, and I know it’s bad because she misses school.
(I say that, but she actually likes school quite a bit. I can only pray that keeps up.)
It’s been difficult to work lately, but I think I did the best thing I could possibly do when the words just aren’t flowing: I got to crafting instead!
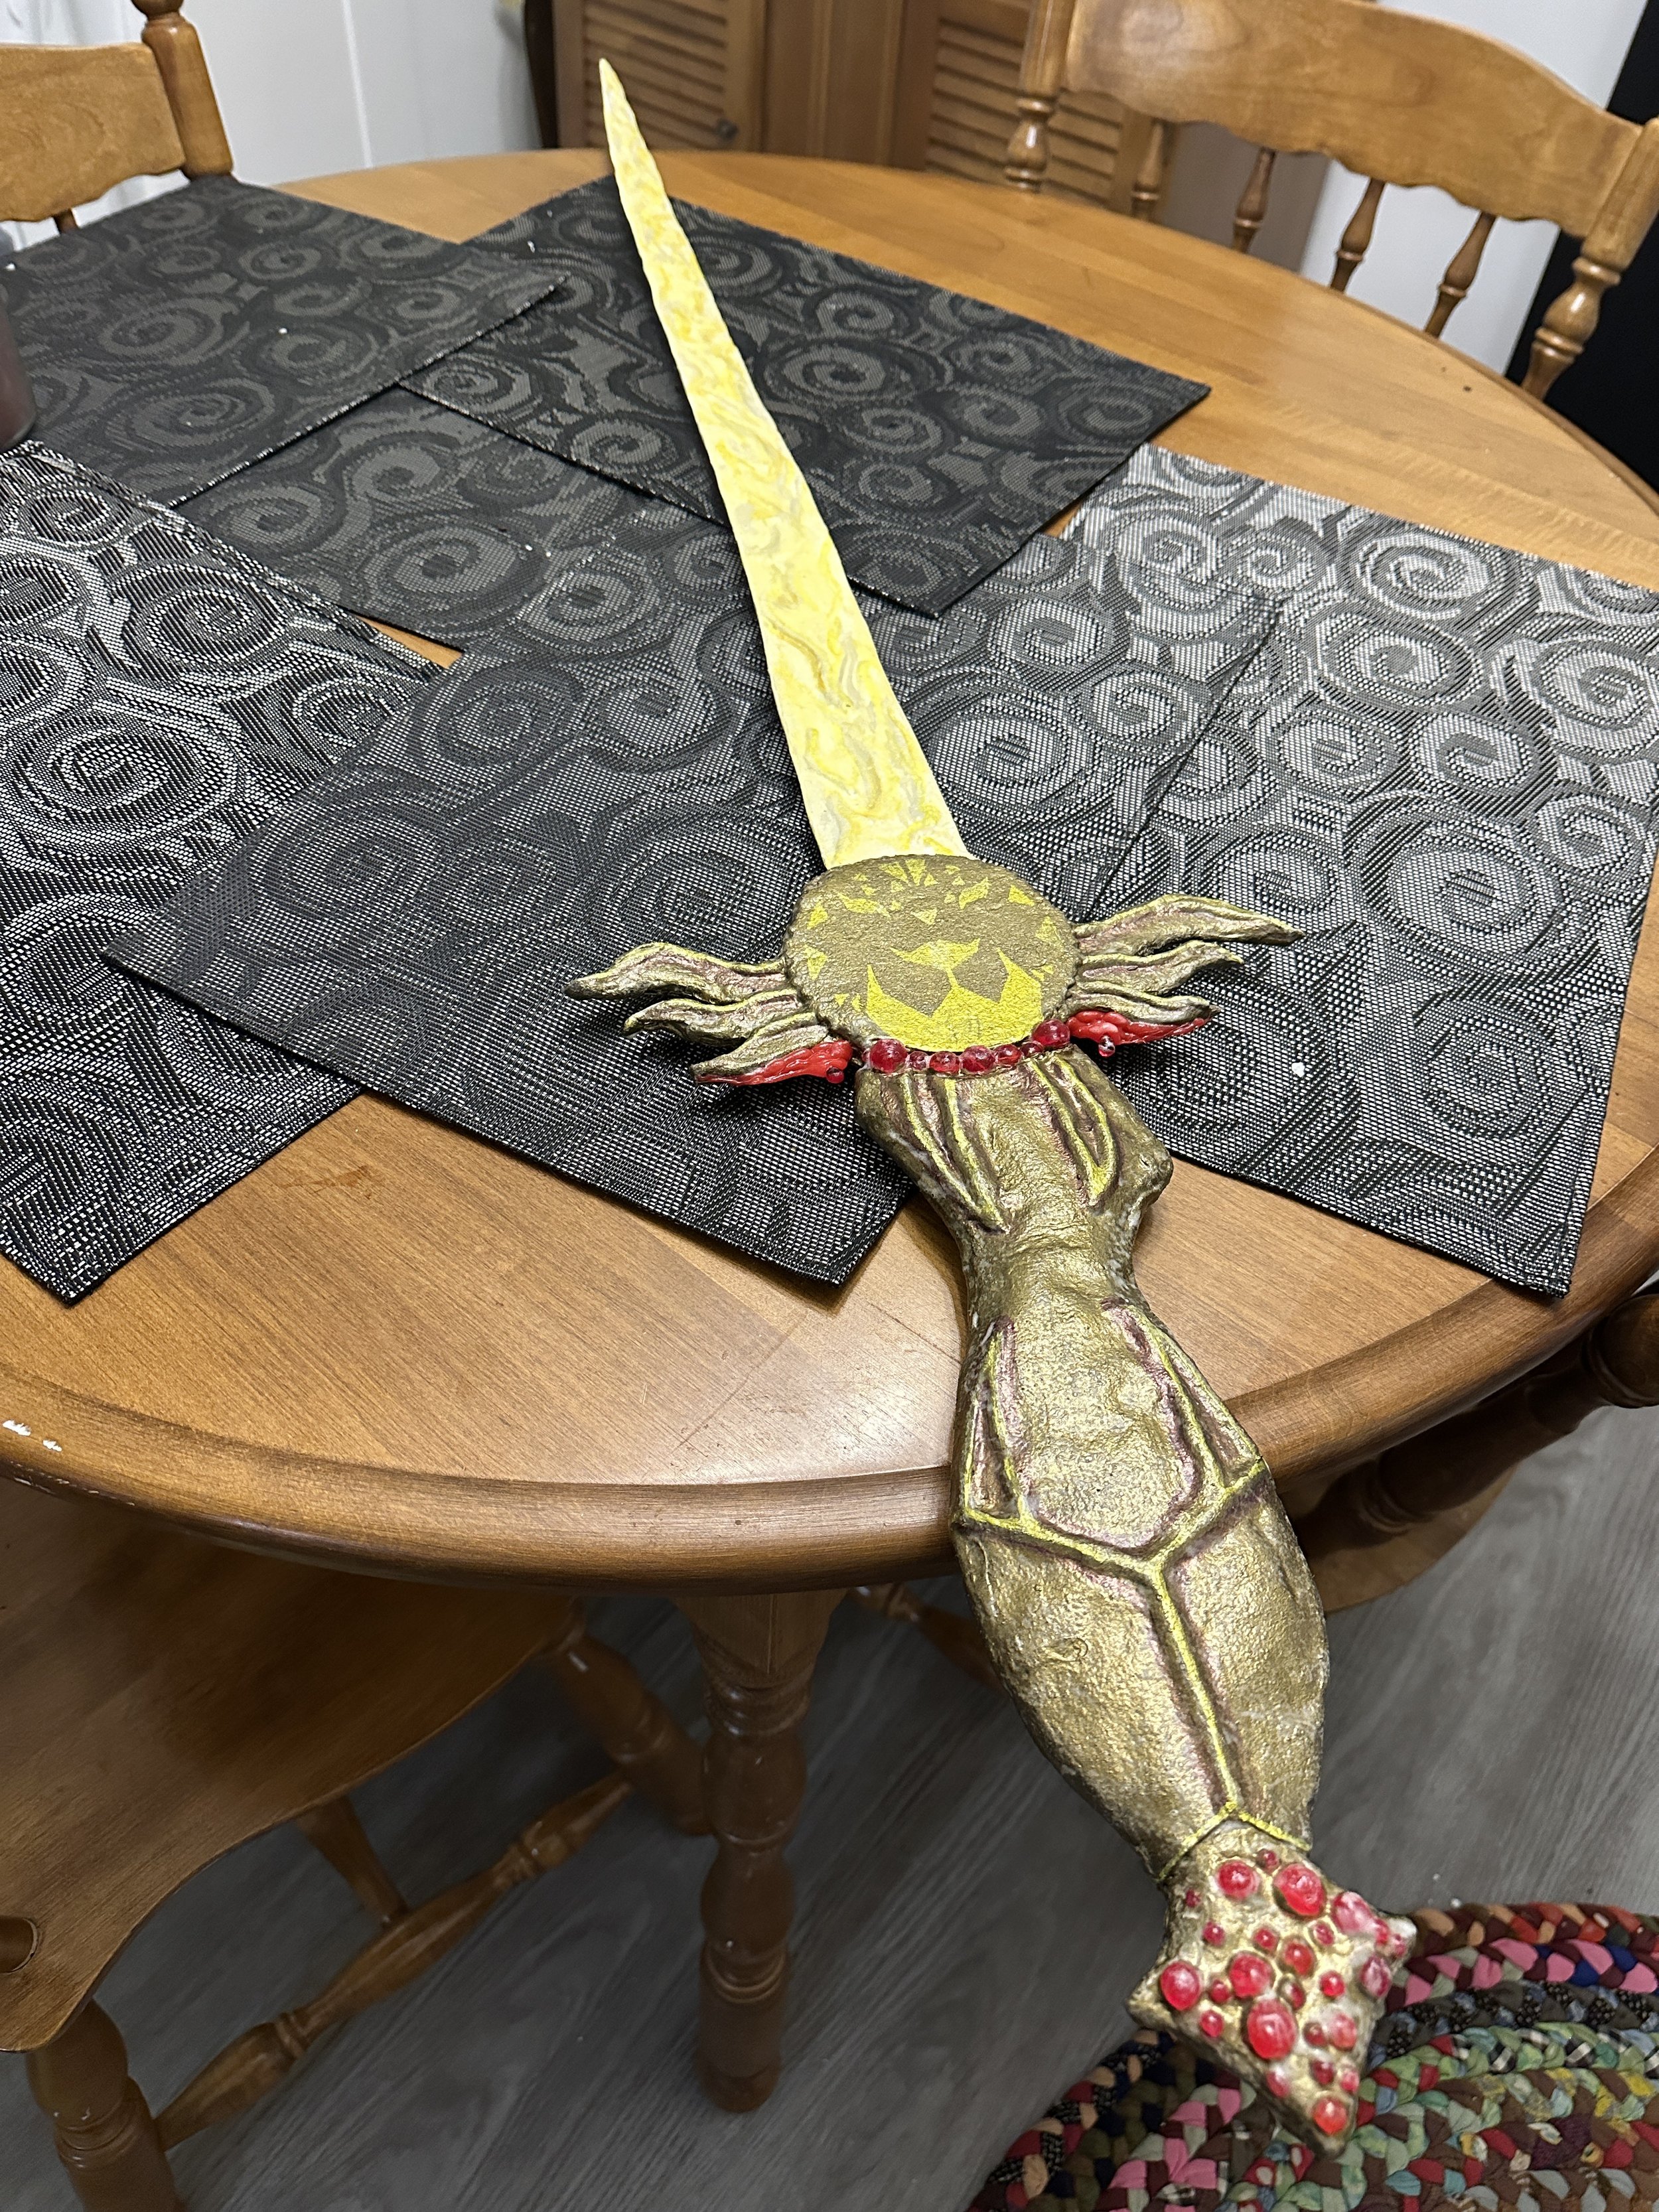
This is the Sunblade, a sword made of radiant light. It’s from a Dungeons and Dragons campaign I’m in (zombie apocalypse meets high fantasy), once wielded by a legendary warrior called The Bloodsinger.
Without going into too much boring detail, I’ll walk you through how I made it! Note, I am not a professional (obviously) and my experience is only with cosplay props. Primarily, I make this stuff for fun, so mine are a bit rough, but if you spend the time and put the care in, you can make your props look wildly realistic!
I start every big prop I make by creating a blueprint. I measure every line I draw, even the curved ones – I have a flexible ruler for that very purpose, but I used to freehand the curvy lines just fine too. So, once I’ve got all my numbers down and the drawing done, I pick out my materials! They were:
- Thermoplastic sheets (I use Worbla primarily) and a heat gun
- Cardboard
- Foam sheets
- Air-dry clay
- Hot glue
- Beads
- Paint and paint pens
- Modge Podge glossy glue
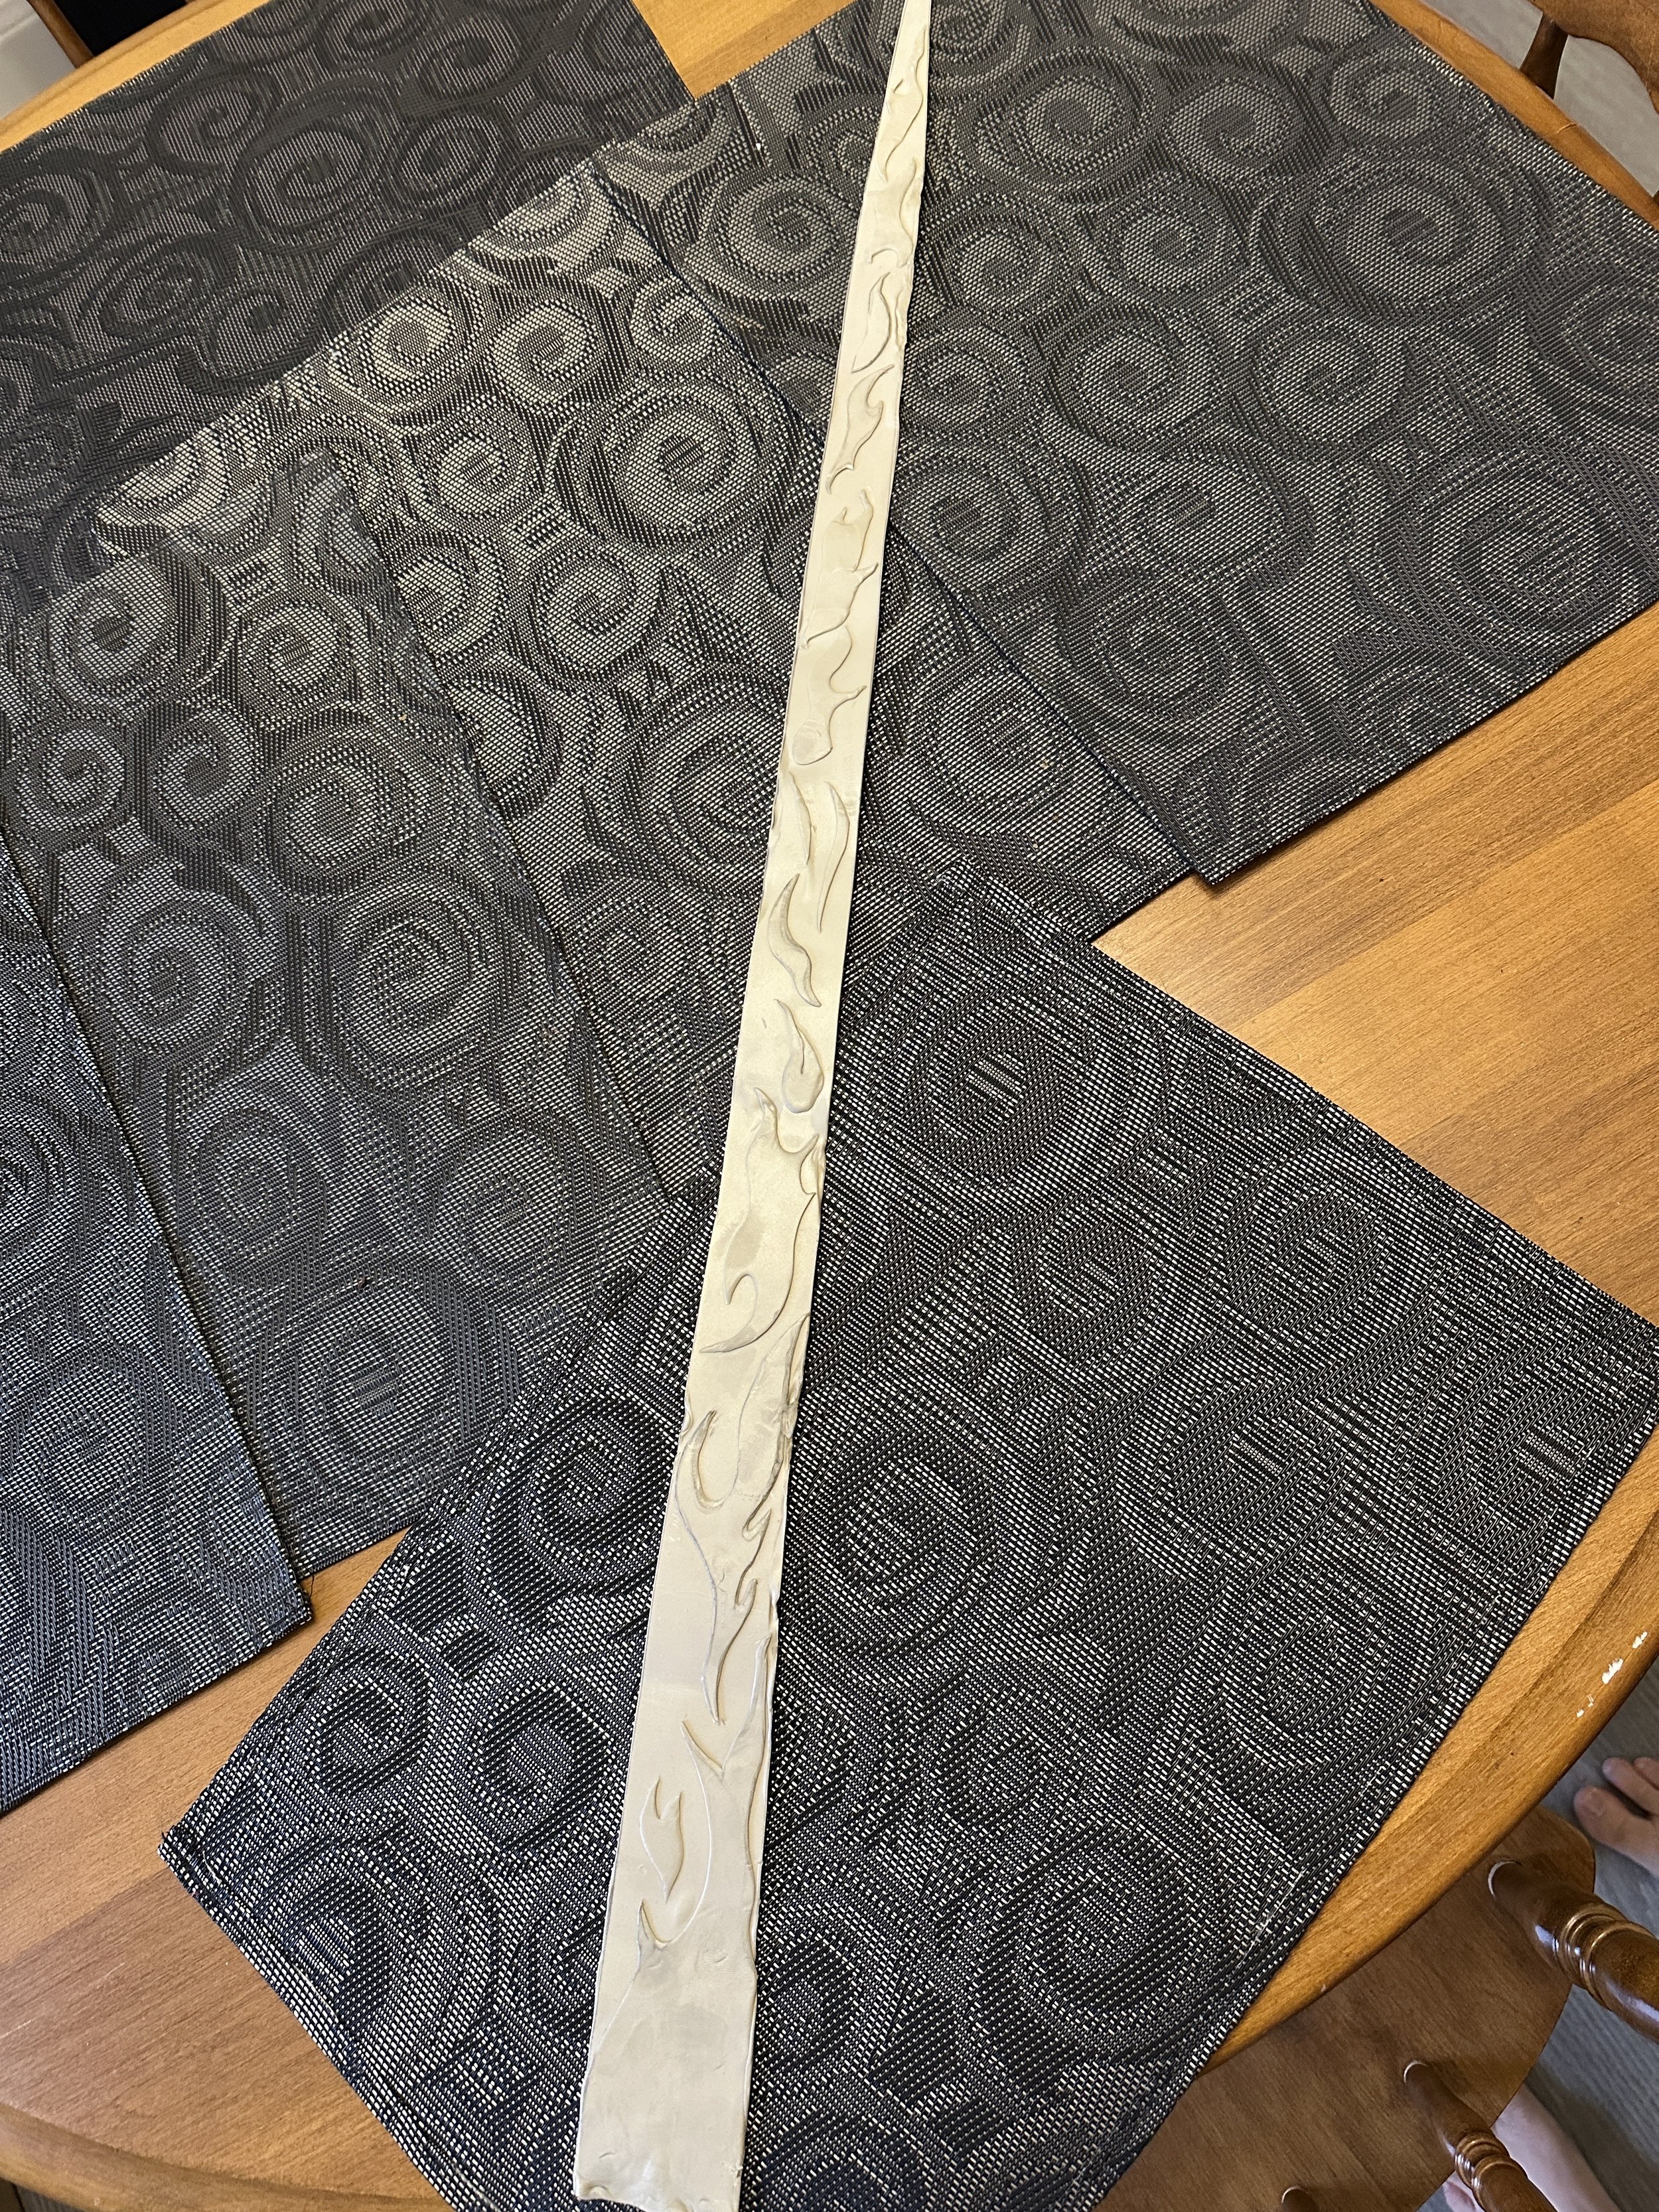
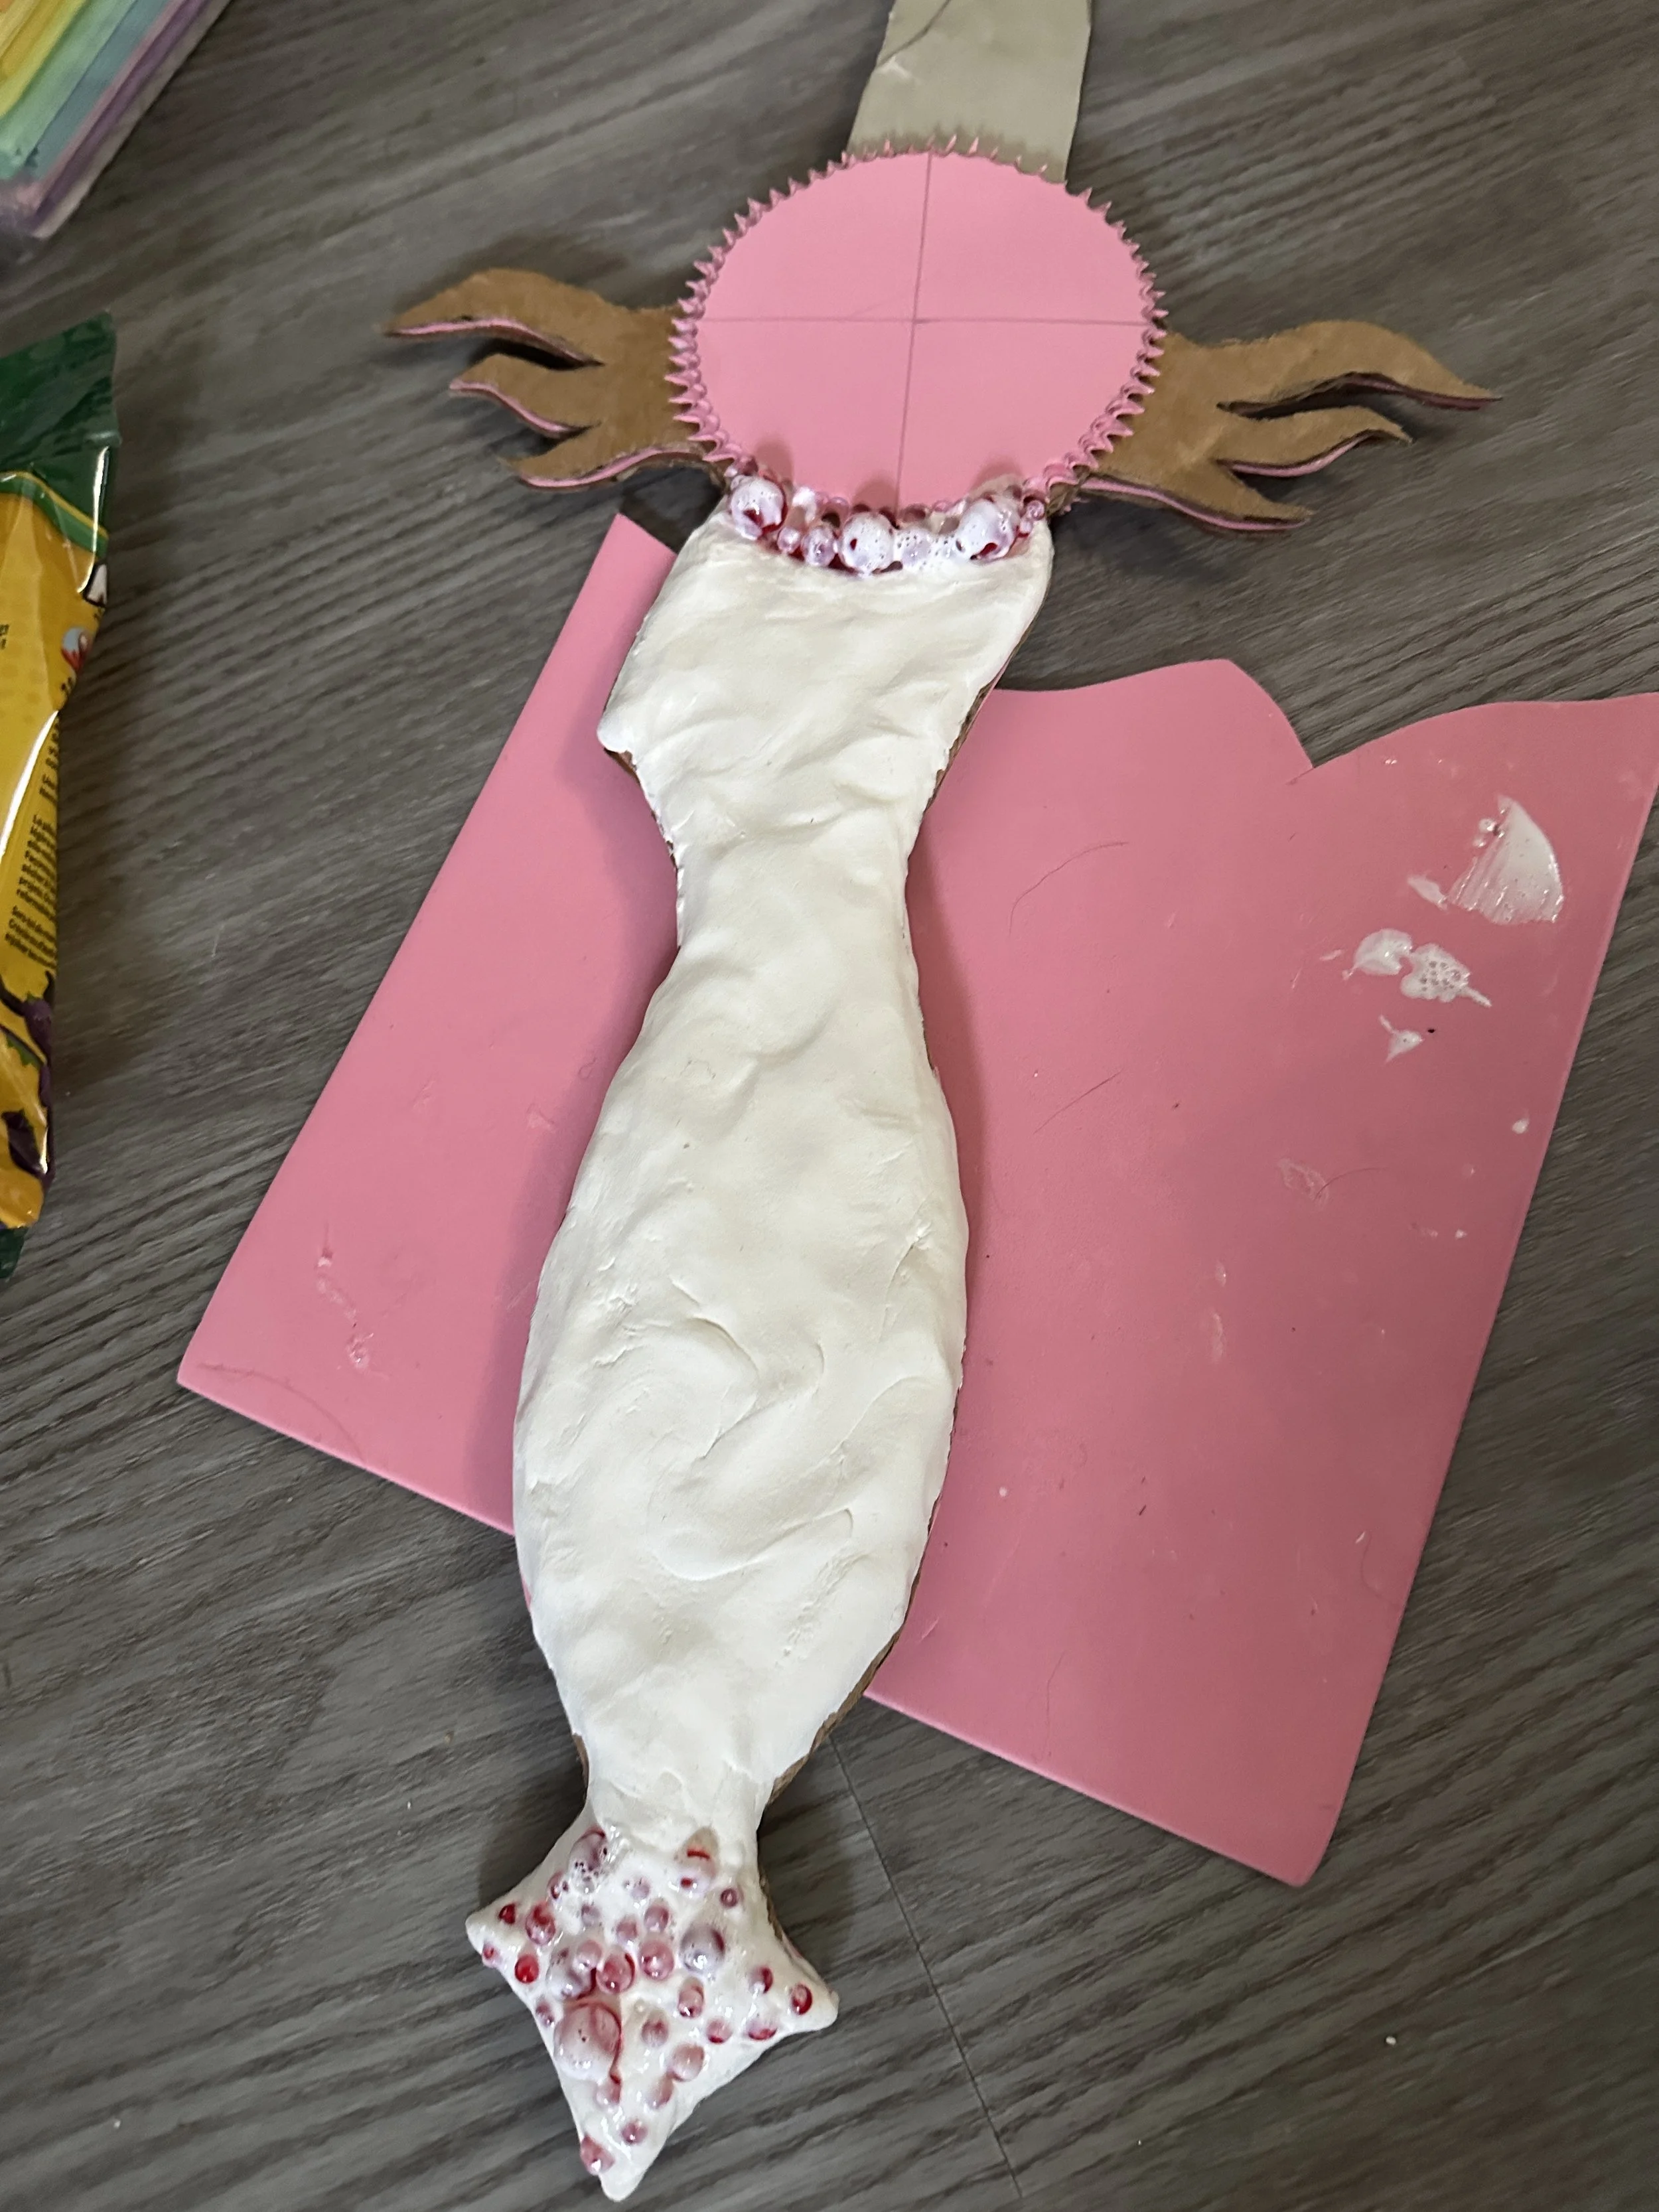
The blade itself is made of three layers of thermoplastic. I started with one base layer, which I add the textural details to with more thermoplastics and hot glue. I sandwich that layer in two pieces of cardboard, using a foam sheet to fill the gap between each cardboard piece (the blade should be long enough to have a good couple of inches trapped in the middle, and you’ll need the foam around the base part of the blade for sturdiness).
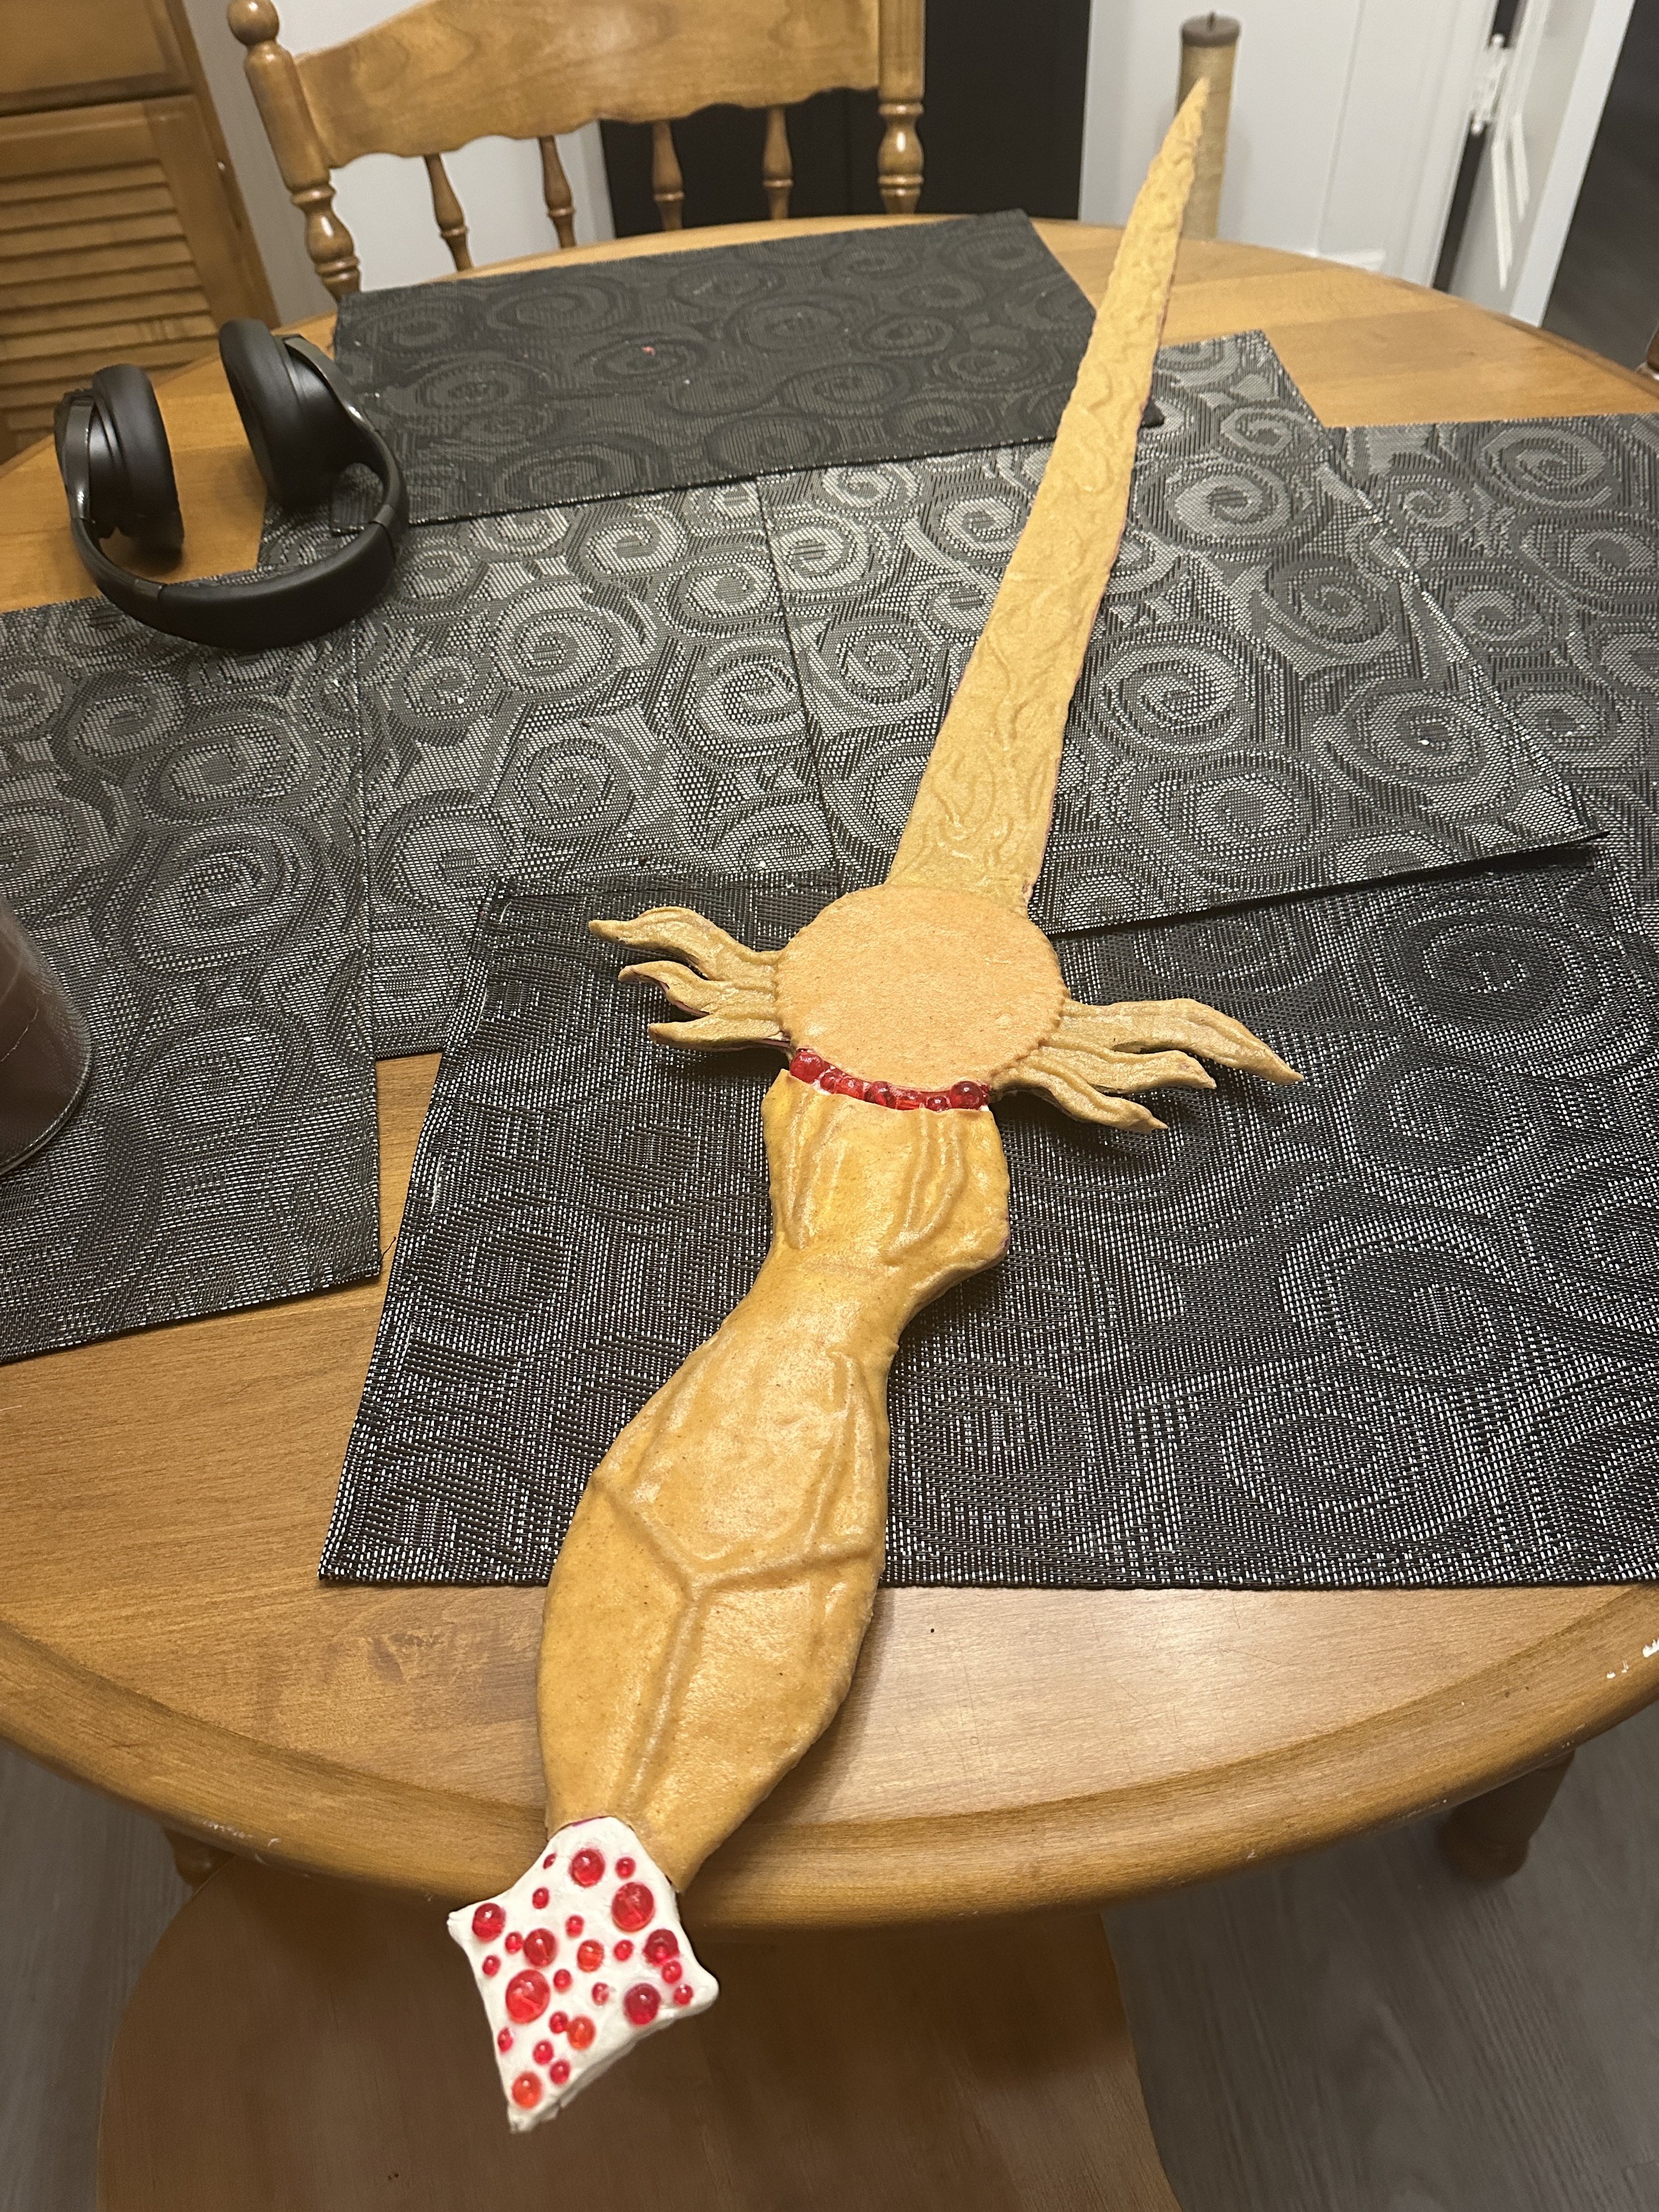
Once the glue’s dry on your foundation, get out your air-dry clay and mold it around the hilt to make it three-dimensional. Smooth it out as much as you can! When you cover the whole thing in plastic, the little dips and cracks will be visible through it.
Before your clay is dry, if you want to add beads or anything, just press ‘em in and coat them with your Modge Podge glue. I wanted a blood-bubbling-up effect, so that’s what I did. You’ve got to paint around them super carefully, though, so be warned about that.
If you want to add any other textures or whatnot, I like to do mine in hot glue. Be warned, though, when you heat the plastic that’s going to go over the whole thing, the glue might get runny, since it’s technically also just plastic. Once you have all that ready, though, you can cut the basic shape of your sword/prop out of the thermoplastic – I recommend molding one large piece around the point where your blade meets hilt, it’s less likely to be floppy or break that way.
Once you’ve formed the plastic around it, sand down the rough edges (this is where I get laziest, honestly, and if I put more time into sanding, it’d look even better… But, I didn’t want to, and that’s so valid of me). You’ll want to use a primer paint on the whole thing next, but if you don’t have a specific primer, you can use the Modge Podge and it should work in a pinch.
Then… painting time! I had these cool iridescent paints that I used on some parts, and obviously a metallic gold with a bit of black for the hilt. I mixed the gold with some red and more black to bring out the 3D parts of the hilt, and for the blade (which is made of divine fire, in the campaign) I used white paint thinned with water as a wash over the yellow blade, then the iridescent yellow mixed with a touch of orange over some of the flame textures. The geometric jaguar face is a symbol in the D&D campaign, so I used gold pens to draw that, and also highlighted the 3D stuff with it.
I finished it off with the glue gun and a couple more beads. Did you know they sell coloured hot glue? I didn’t, until I bought red hot glue.
And there it was – the Sunblade! I coated it in a topcoat of Modge Podge, and that was it!
Now my friend has no choice but to cosplay her D&D character, because she has the right prop for it. All part of my diabolical plan.
If you make stuff, leave me a comment and tell me about it! I love hearing about people’s craft projects!


